
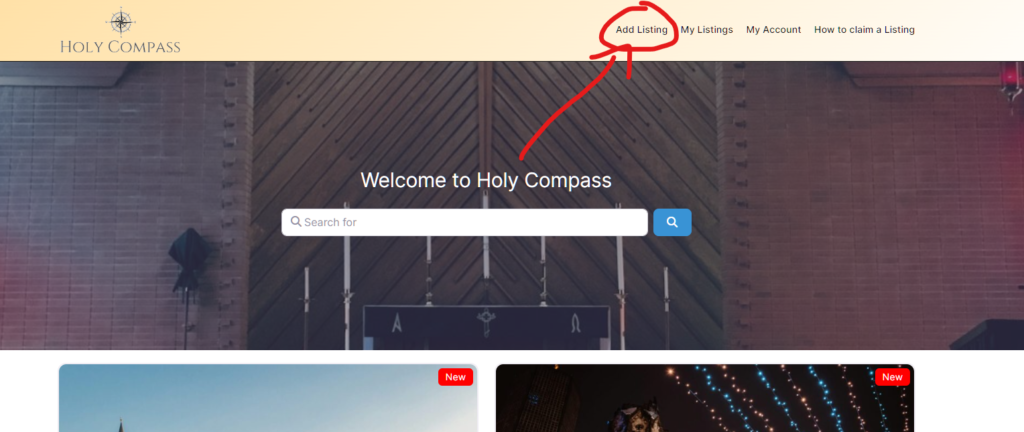
- First, click on the “Add Listing”-link in the top right menu.
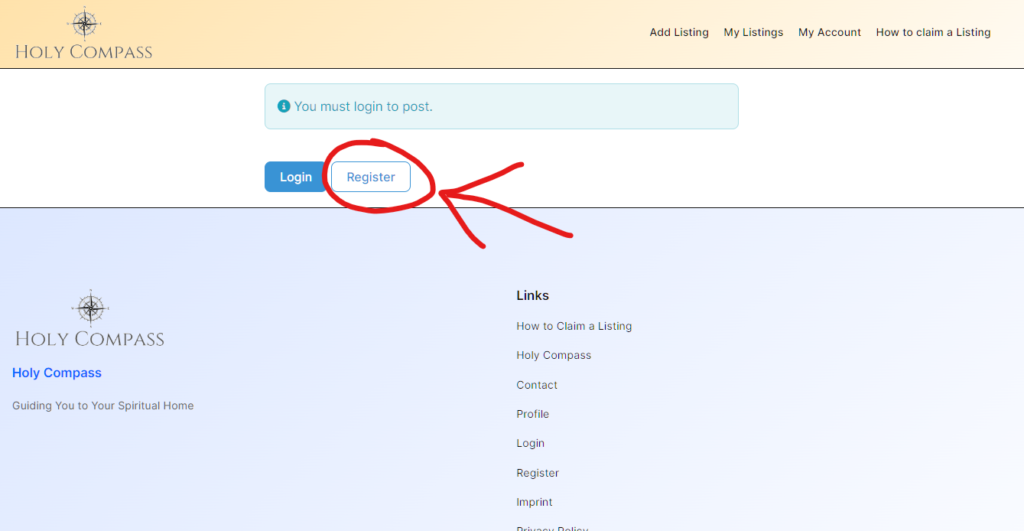
2. Then click on the “Register”-link to create an account.
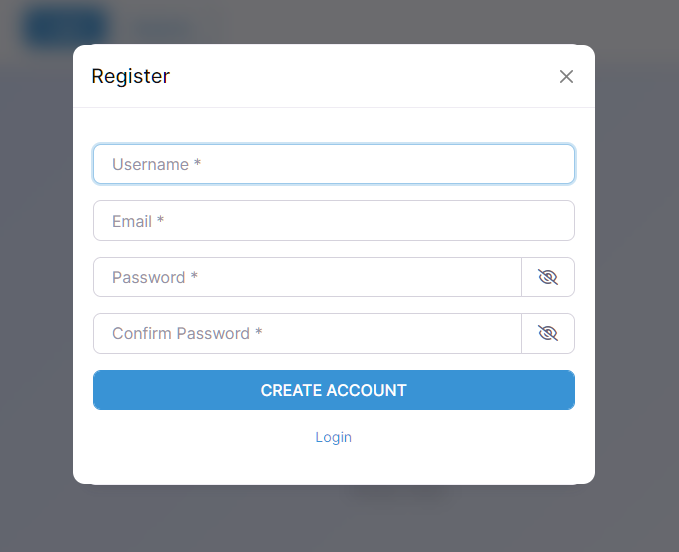
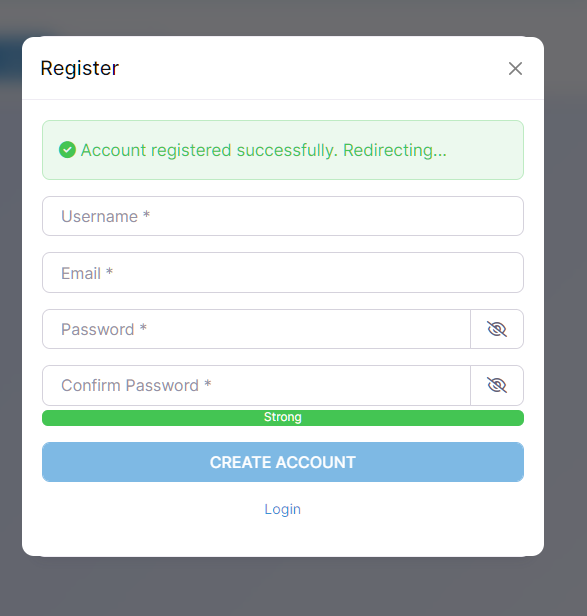
3. A pop-up will open with the registration form. There you have to fill out a Username, your Email, set a password and click on “Create Account”.
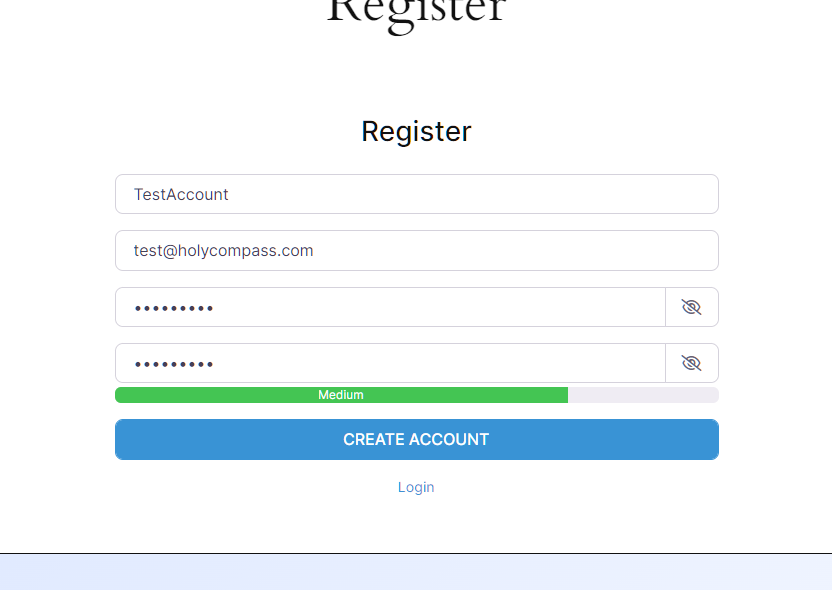
4. After you filled out your details, you will be logged in automatically and redirected to the “add listing”-page.
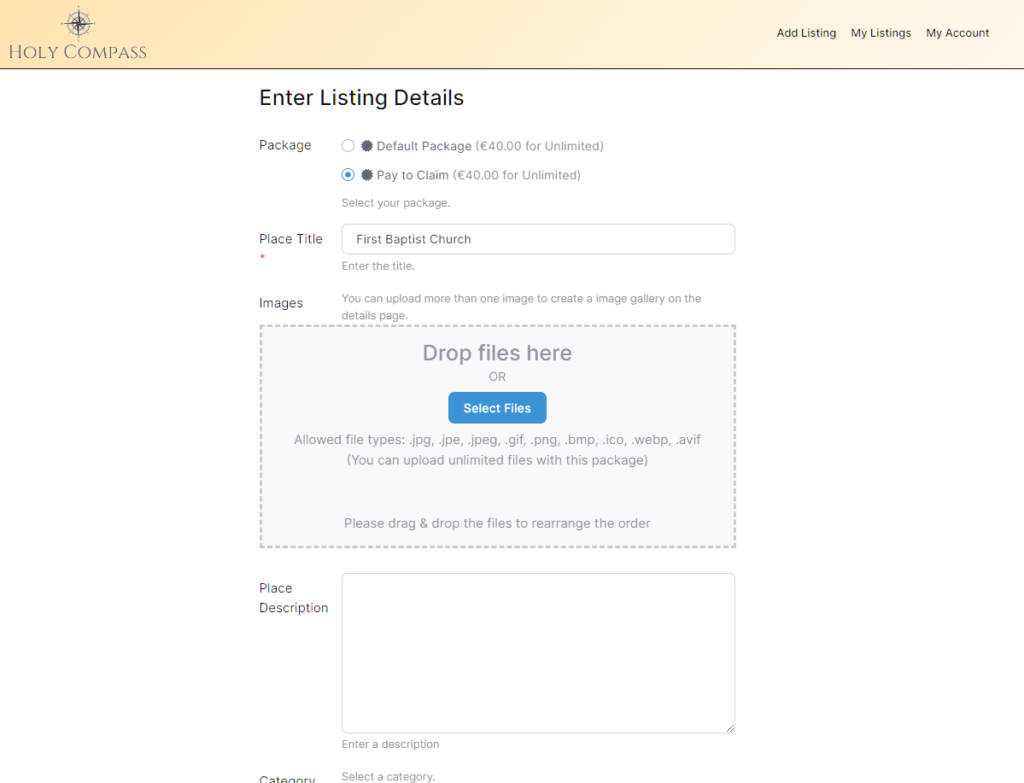
5. Now you have to enter your listing details.
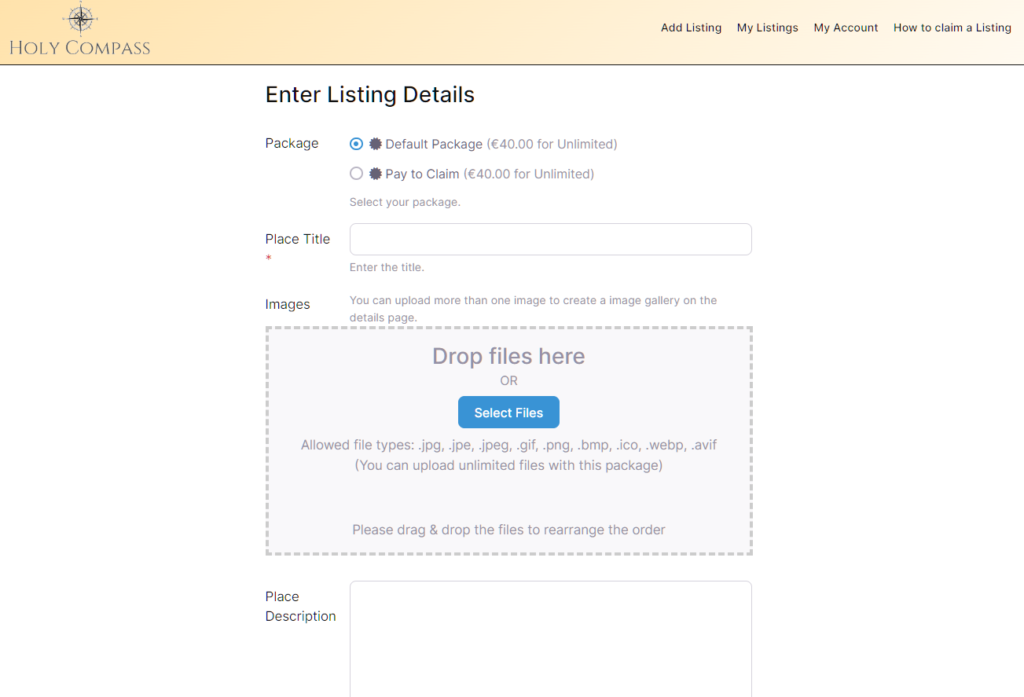
6. The first option talks about two different packages, you can ignore this field and leave the selection with the “Default Package”.
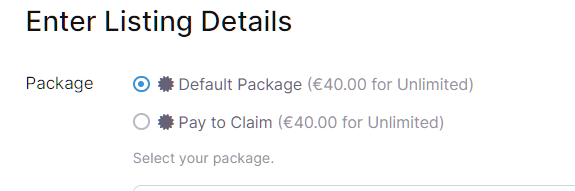
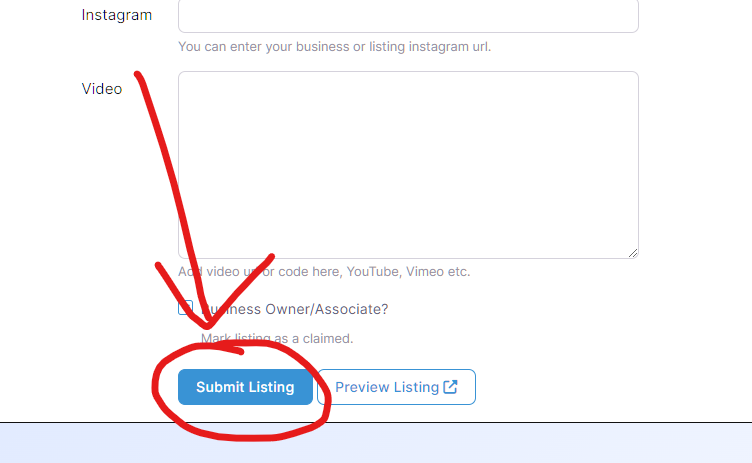
7. After you filled out the details, of your listing, you can click the “Submit Listing”-button in the end of the page.
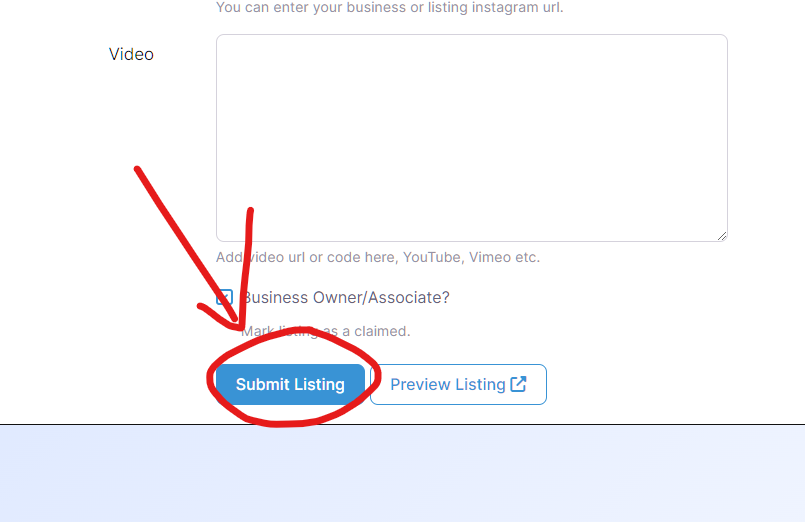
8. You will be redirected to the checkout page where you can purchase the listing.
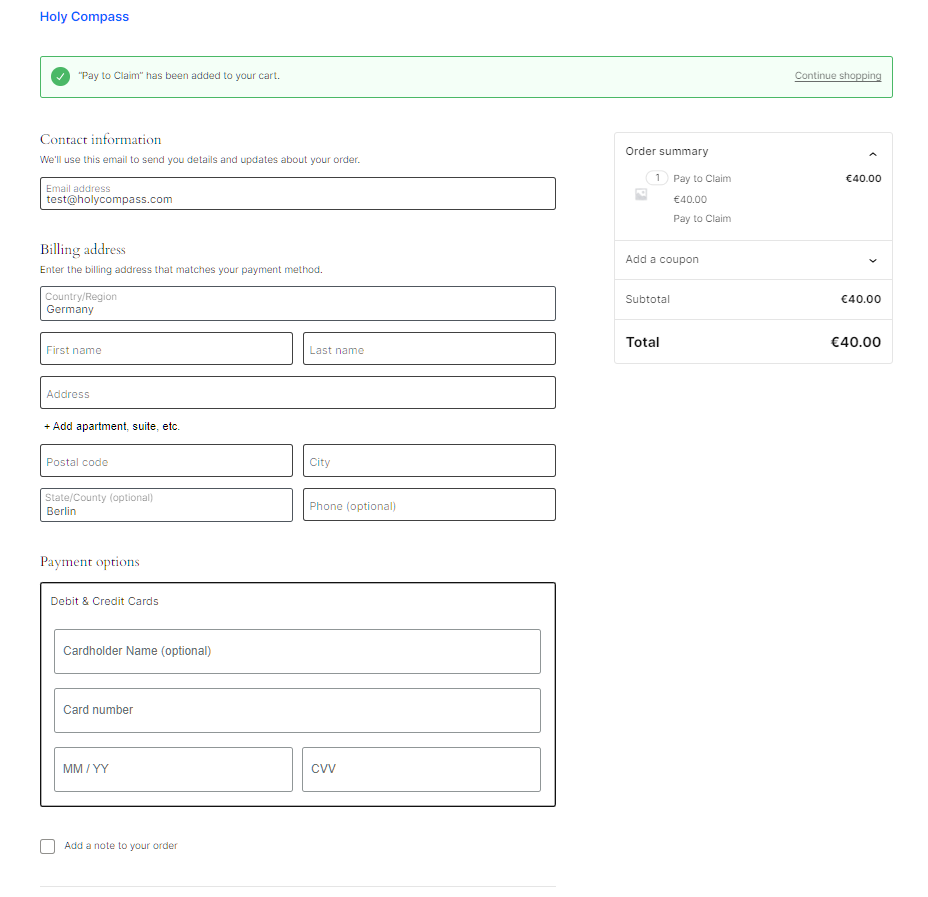
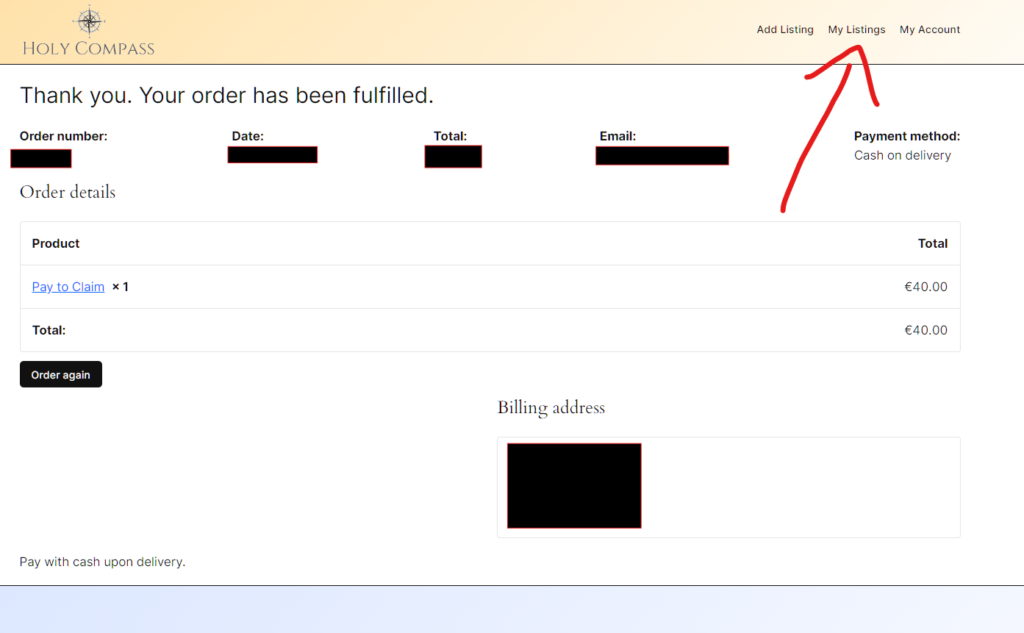
9. After you completed the payment, you will see the order confirmation page. From there, click on the “My Listings”-Menu Button in the top menu.
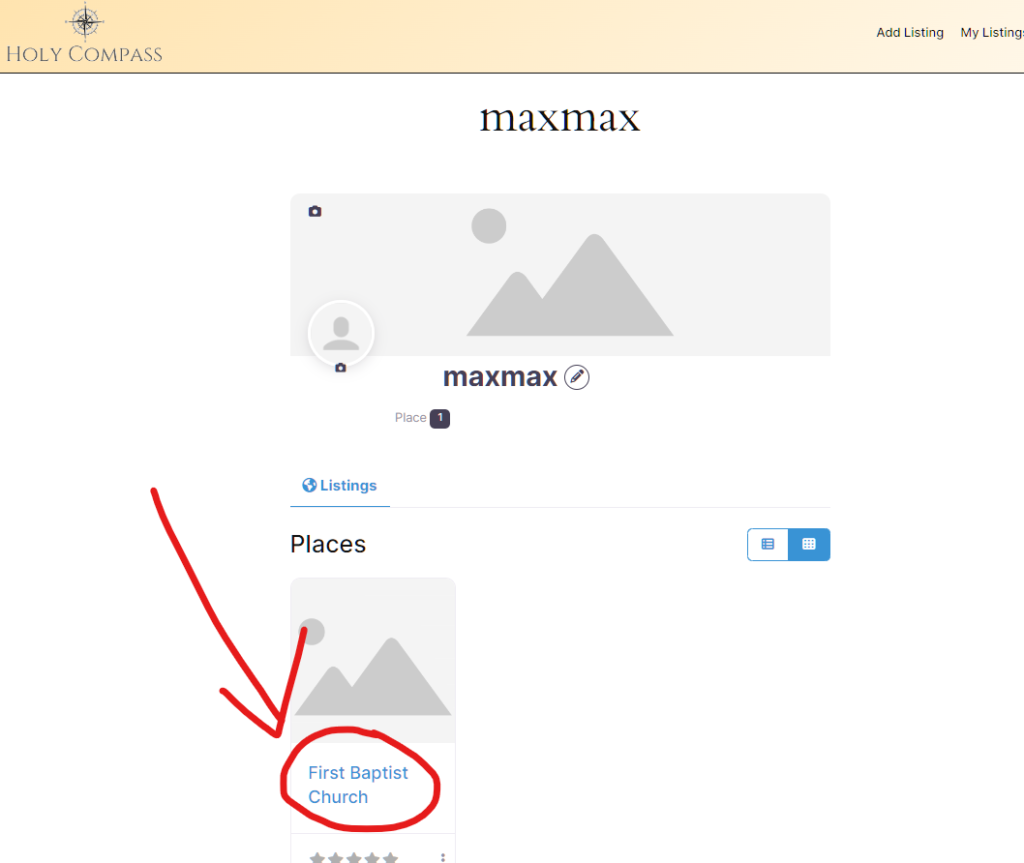
10. On the “My Listings”-page you will see the listing you just purchased. Click on the blue link of the listing.
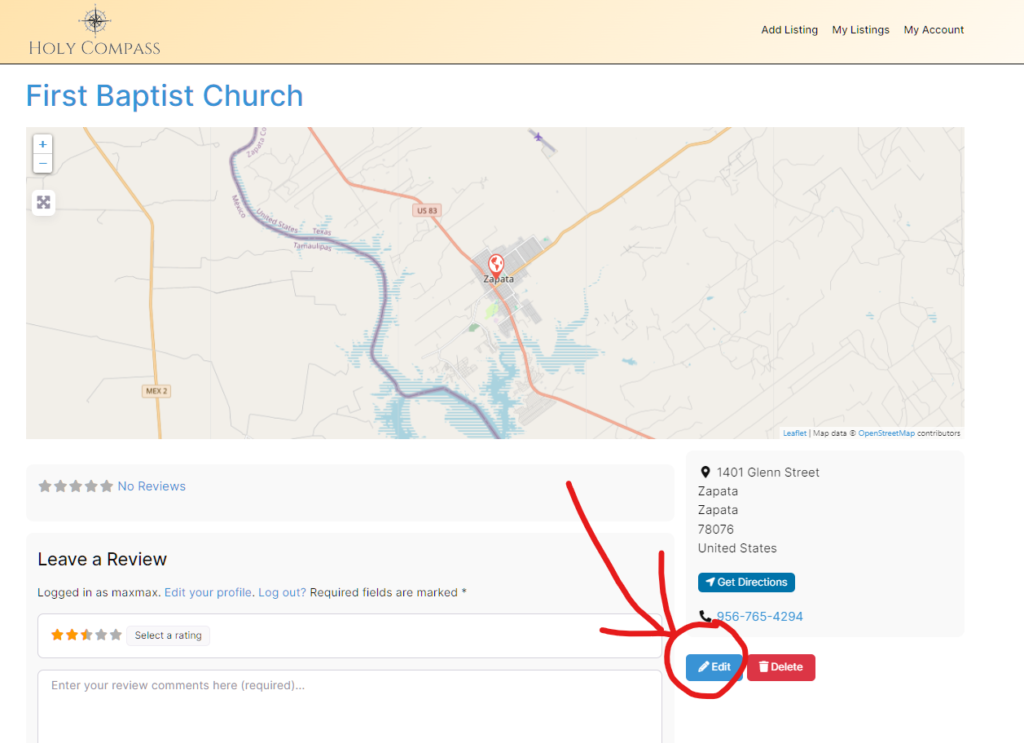
11. If you want to edit the listing again, you can click on the “Edit”-button.
12. Now you can edit the listing and fill out the missing information.
13. After you added your information, you can click on “Submit Listing” in the bottom of the page.
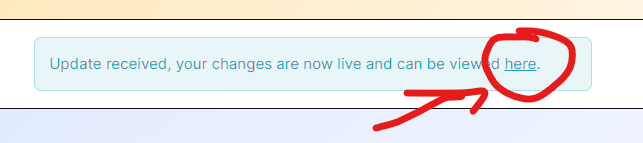
14. Your changes are live immediately, you can click on the blue “here” link to see your listing.
That’s it. If you have questions, please write us an email under: info@holycompass.com


